Almost every day our friend at best tactical reviews compile various products (Survival tools, Health & Beauty, Kitchen, Home Improvement, knives, flashlight, etc.) review which are high quality and people love to buy regularly.
If you like hiking, hunting or even camping, then you truly understand the importance of having a flashlight handy. A flashlight is a very essential equipment that can save you from stumbling or going the wrong way at night or when you are searching for something under your bed. There are various kinds, sizes, and models of flashlights on the market today. Some are durably made while others are just basic. Also, there are those that are very costly and come with advanced features. No matter the case, a flashlight’s sole purpose will remain to provide light. If you don’t want to break the bank to acquire this lighting device, then you can decide to make one by yourself. But, no offense, you have to buy any ready-mate powerful tactical flashlight to observer their functionality. Then, it will be easy for you to develop one!
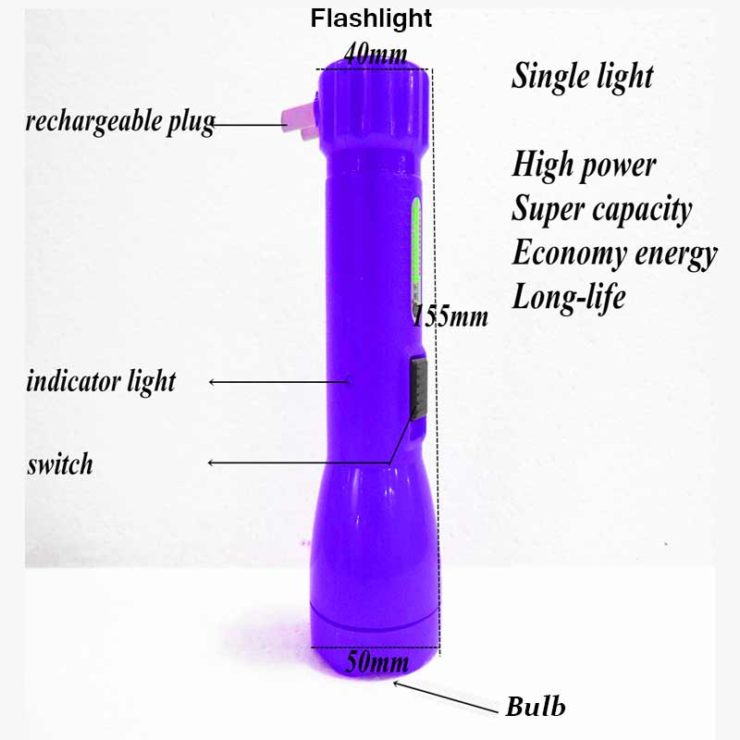
This shouldn’t sound tricky as all you need is to get the necessary parts and follow assembling instructions. Many people have managed to create small flashlights that they use in different scenarios. Although such a flashlight may not be as bright as the quality flashlights on the market, it will still be of great use when it comes to lighting needs. Check out our guide below on how to create a flashlight.
Things you require when creating a flashlight
- 3 volt flashlight bulb – acquire a bulb with the right volts you need. Most of the bulbs available range between 2 volts to 3 volts. Running 10 volts through a 3 volt bulb will just make it blow out even before the lights come out. Thus, stick to the rights volts.
- 2 D batteries – choose batteries that will light your flashlight for a long period of time. In most cases, people use 2 batteries in a series. Two 3 volt batteries will give you 6 volts. Take a strong bulb that can handle the total volts if you want to combine more than two batteries.
- Glue – ensure you get sturdy glue so that you can keep your assembled parts intact.
- 2 brass fasteners – these will help you link the negative and positive ends of the battery and act as an on/off switch.
- Electrical tape – this is a major item when creating a flashlight as it will hold together the batteries and other parts. Also, it may be used to hold the wire on both the negative and positive ends.
- Bathroom size paper cup – without this paper cup, the light emitted from the bulb will be blurred and won’t provide the much needed light.
- Paper clip – this will act as the switch for the flashlight after being assembled.
- Number 22 insulated copper bell wire.
- Small cardboard piece for holding bulb.
How to create a normal flashlight
- Begin by cutting the cardboard tube lengthwise and flatten. Then insert the two brass fasteners with the clip connected to one of the fasteners.
- Cut two wires and strip both ends. Connect one wire to each fastener and cover with electrical tape.
- Cut a small cardboard piece to fit over the top of the tube. Create a hole in the center of the cardboard piece and place the light bulb.
- Wrap one of the wires around the body of the light bulb.
- Connect the D size cells so that they are in series and use electrical tape to hold them together. Put the cells in the cardboard tube, wrap the tube around the cells, and apply tape to secure it.
- Use tape to secure the light bulb assembly to the top of the tub, make sure the bulb makes contact with the positive battery terminal.
- Secure the on the other side of the tube to the negative battery terminal using electrical tape.
- Cut a hole in the bottom of the paper cup and apply the tape to secure it over the bulb on the top of the flashlight.
- You now have a functioning flashlight. Closing the paperclip switch allows current to flow through the circuit and light up the bulb.
How to create a water powered flashlight
This type of flashlight is created in a similar way as other kinds of flashlights. The only difference is that water is added to this flashlight.
- Create the major source of energy
Take the power cell with two metal stripes which are copper and zinc that serve as anode and cathode respectively. Take the copper strip and wrap and wrap it with three sheets of toilet paper. Then coil well the zinc strip unitedly with the remaining two sheets of toilet paper. The moment this is done, take some copper wire and tie it around the power cell so as to secure the paper from getting torn when wet. Get a pulley, which should fit well on the PVC coupling, creates two holes in the metal strips to go through, place the strips in the holes and seal with glue.
- Build the circuit that powers the LED light
This circuit is a bit different from the usual one as it needs the transistor to be fitted below the LED’s board, while at the same time the toroidal core should go above it.
- Combine the two from above to make the water powered flashlight unction
What you have to perform is to solder the wires on the power cell and add glue around the coupling. Put the LED’s reflector onto the coupling and enable it to dry.
- Create the water storage cylinder
At this stage, you require a PVC pipe, place a cork or a small piece of acetate to close up the non-threaded side. This will enable you to fill it up with water during the succeeding step.
- Adding the water
Since the pipe is well closed on one side, bring it to the tap and fill it. You can apply other liquids as well, not simply the tap water, which could offer just half an hour of light. Instead, you can apply salt water, which is rich in electrolytes and allows you to apply the flashlight for up to 2 hours, but in case you choose something like Gatorade or vinegar, you may be in a position to have constant light for around 10 hours.
The above is what you need to create either a normal or water powered flashlight. Use it while out camping, hiking or for other purposes without worrying about the unforeseen circumstances like rain or other harsh environmental conditions that you might encounter.
Conclusion
There are differently priced flashlights on the market. Some are very costly while others are favorably priced. Depending on what you want to do with a flashlight, you may go for a simple one or the sophisticated type. If you prefer simple but best flashlight due to limited use, you can as well make one by yourself through following the simple steps above. Flashlights are very easy to make as long as you have the right parts to make one. All you need to do is to follow the procedure for assembling them and make your own. Such a flashlight is cheap and may offer the brightness that you actually need. Hope you have found this article to be of great help in your quest to making a flashlight of your own.


